
Liquidity Pools
Configure the initial liquidity for a  Uniswap launch, then manage its liquidity-pool position in the Live Workspace.
Liquidity pools appear at three points in a Proxima launch: configuration, pool creation, and post-launch management.
-
 Arc
Arc
 Uniswap V4
-
 Ethereum
Uniswap V2
Ethereum
Uniswap V2
-
 Robinhood
Uniswap V2
Uniswap V3
Robinhood
Uniswap V2
Uniswap V3
Ethereum and Robinhood use ETH; Arc uses native USDC. Review the assets returned by the Liquidity Pool panel for your launch.
Open Liquidity Pool
Open the launch in the Live Workspace, then select Liquidity Pool from the compact action row. This action is hidden for imported tokens.
Review your LP position
The panel shows Total Liquidity, LP Share, and Redeemable assets.
It may instead report an uncreated pair or no LP tokens remaining in the launch.
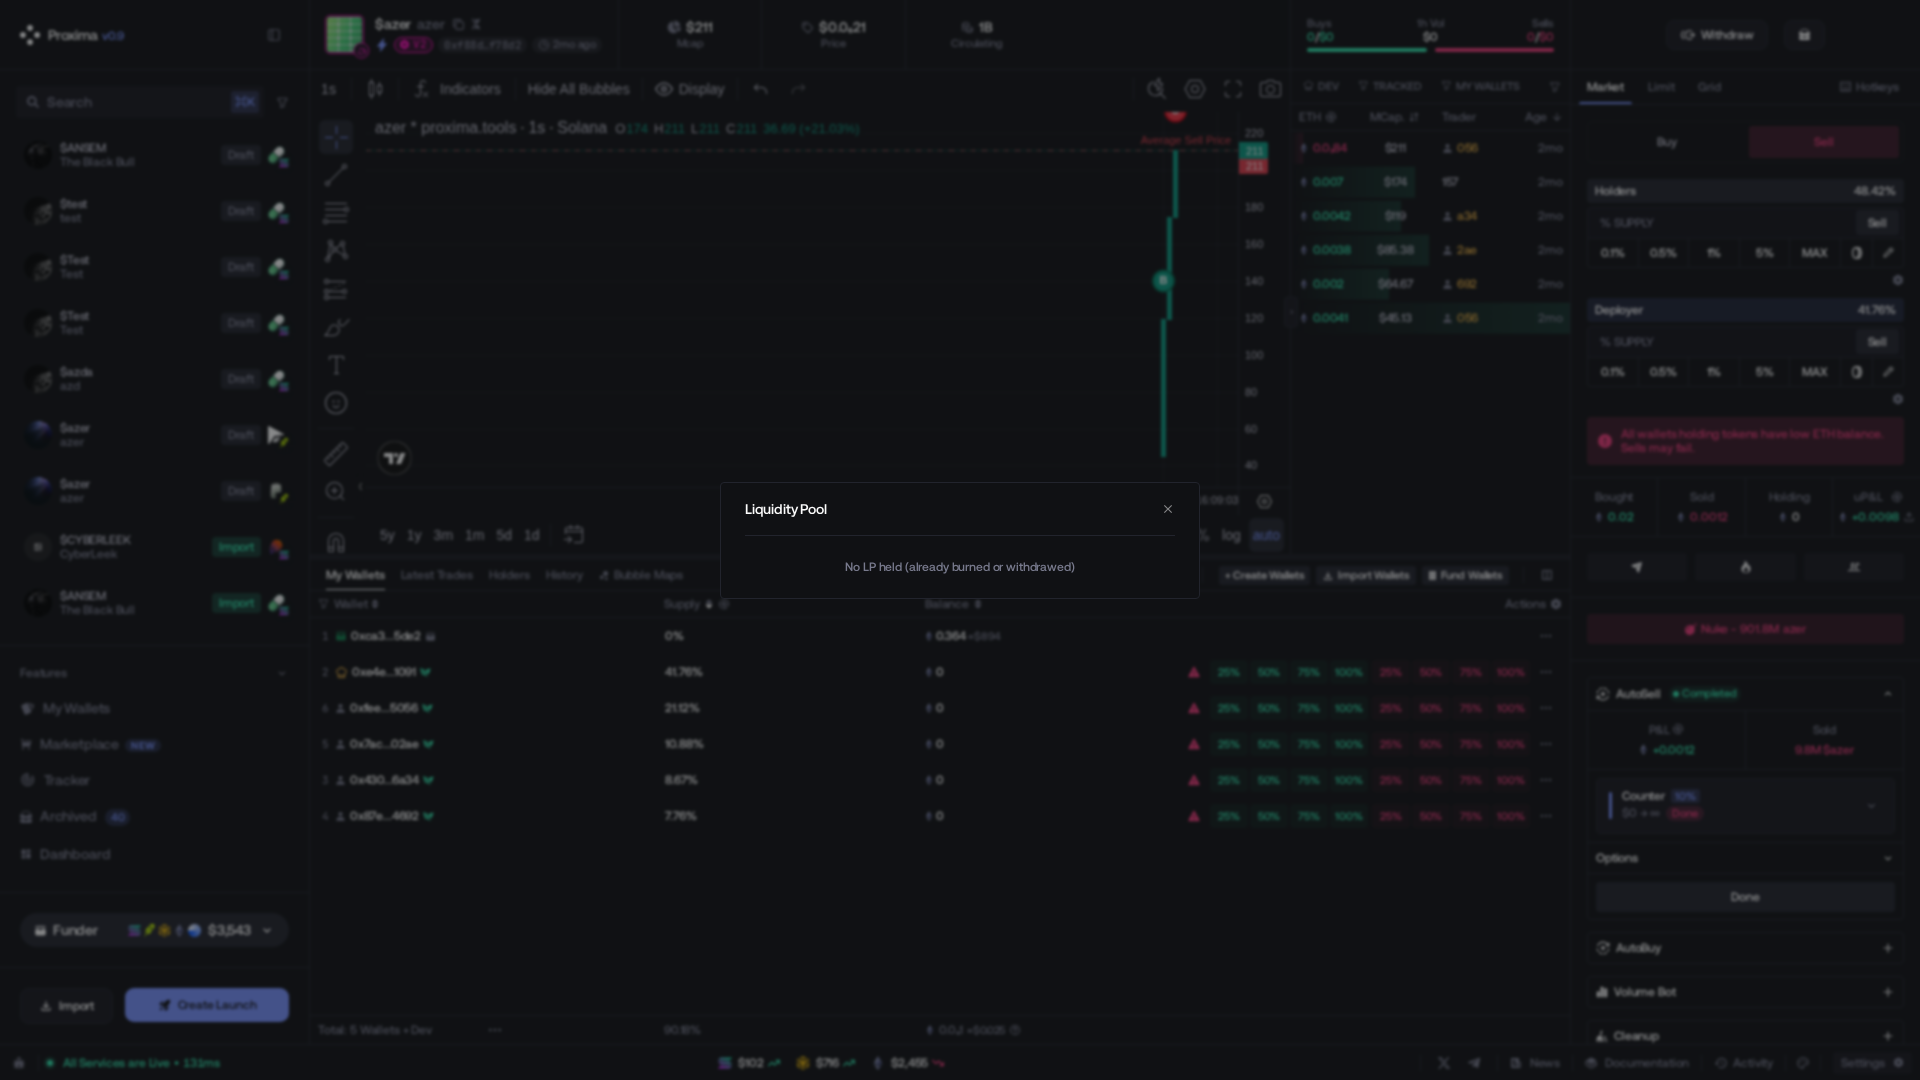
Choose and confirm
- Burn LP permanently sends all LP tokens held by the launch to the burn address. Their underlying liquidity can no longer be redeemed.
- Remove Liquidity redeems the full displayed LP share into the native asset and token, reducing the pool’s available liquidity.
Review the LP share and displayed assets, then tick the risk acknowledgement. The confirmation button stays disabled until checked.

Before launch
For Uniswap V2 and V3, set Initial Liquidity in Create a New Launch.
This is the ETH paired with the token at pool creation. Default: 1 ETH.
For Uniswap V3, also choose the Pool Fee Tier. This controls the swap fee tier of the new V3 pool.
At launch
At pool creation, Proxima pairs the configured liquidity with token supply.
Use the complete Funding Estimation on Funding. Initial Liquidity is only the pool allocation, not the total launch funding requirement.